Connect Kimi Code CLI to TeamoRouter
Kimi Code is an AI coding service for developers. Kimi Code CLI is its terminal-based AI agent. After connecting it to TeamoRouter, Kimi Code calls kimi-k3 through TeamoRouter's OpenAI-compatible gateway.
Tips: Kimi K3 is currently accessible only through the API or the Kimi Code CLI; support for other clients is not yet available.
1. One-click setup with Teamo Desktop (recommended)
Teamo Desktop is the official desktop client for TeamoRouter. It can install Kimi Code, connect it to TeamoRouter, and configure the model for you. This is the recommended path for new users.
Download for Windows · Download for macOS
If your operating system shows a security warning during installation, choose Trust, Open, or Continue.
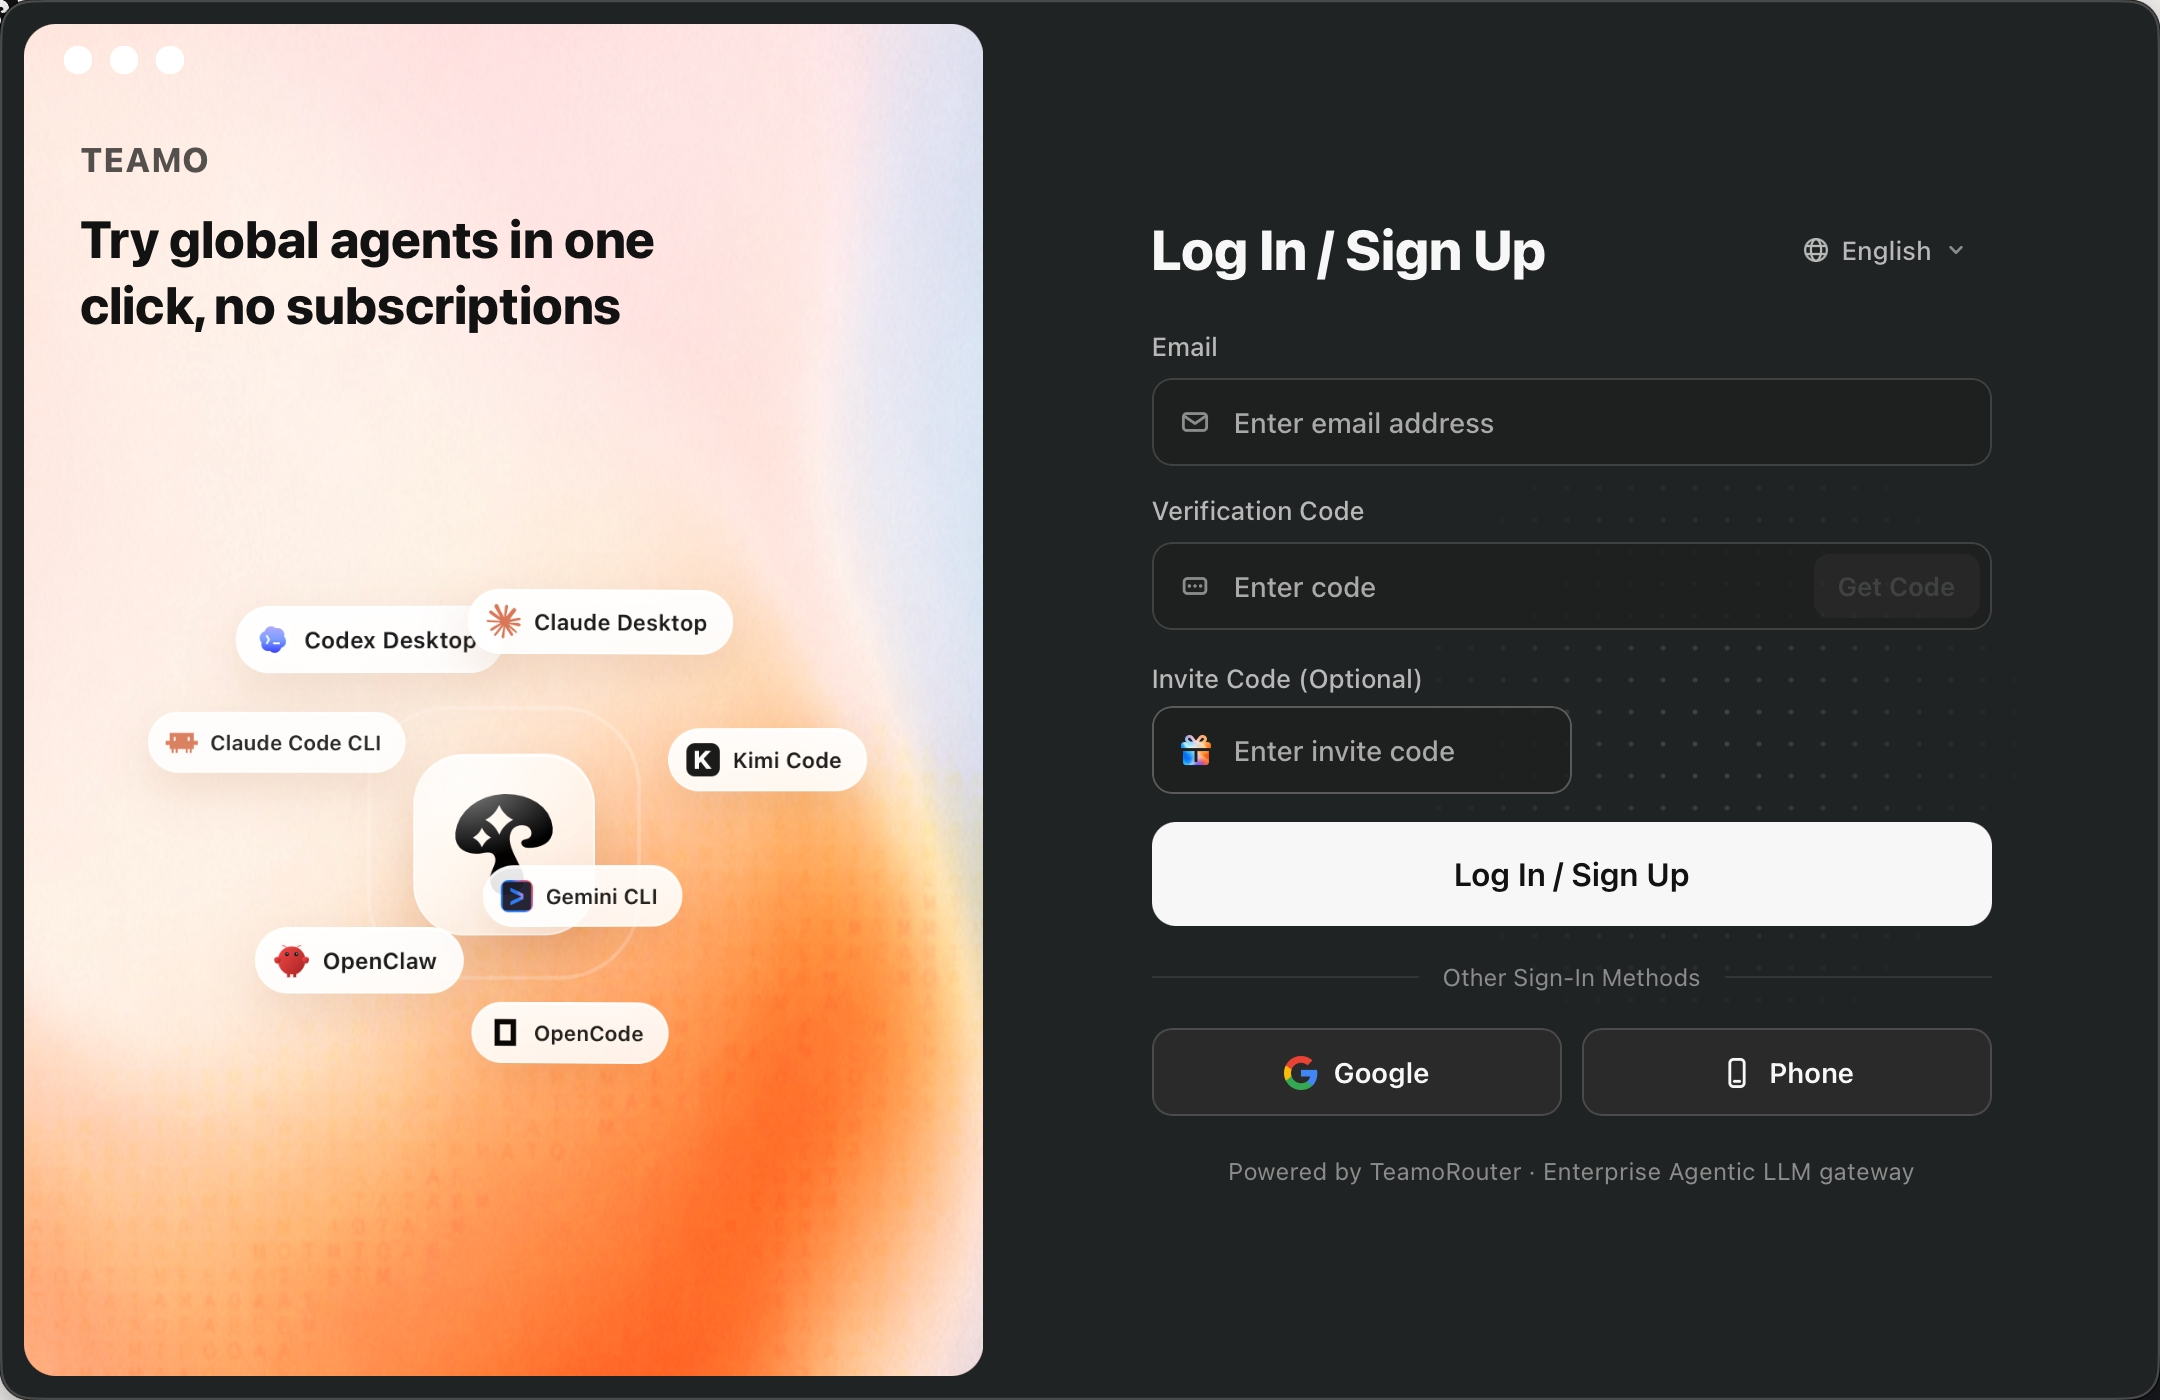
After installing Teamo Desktop, create an account and sign in.
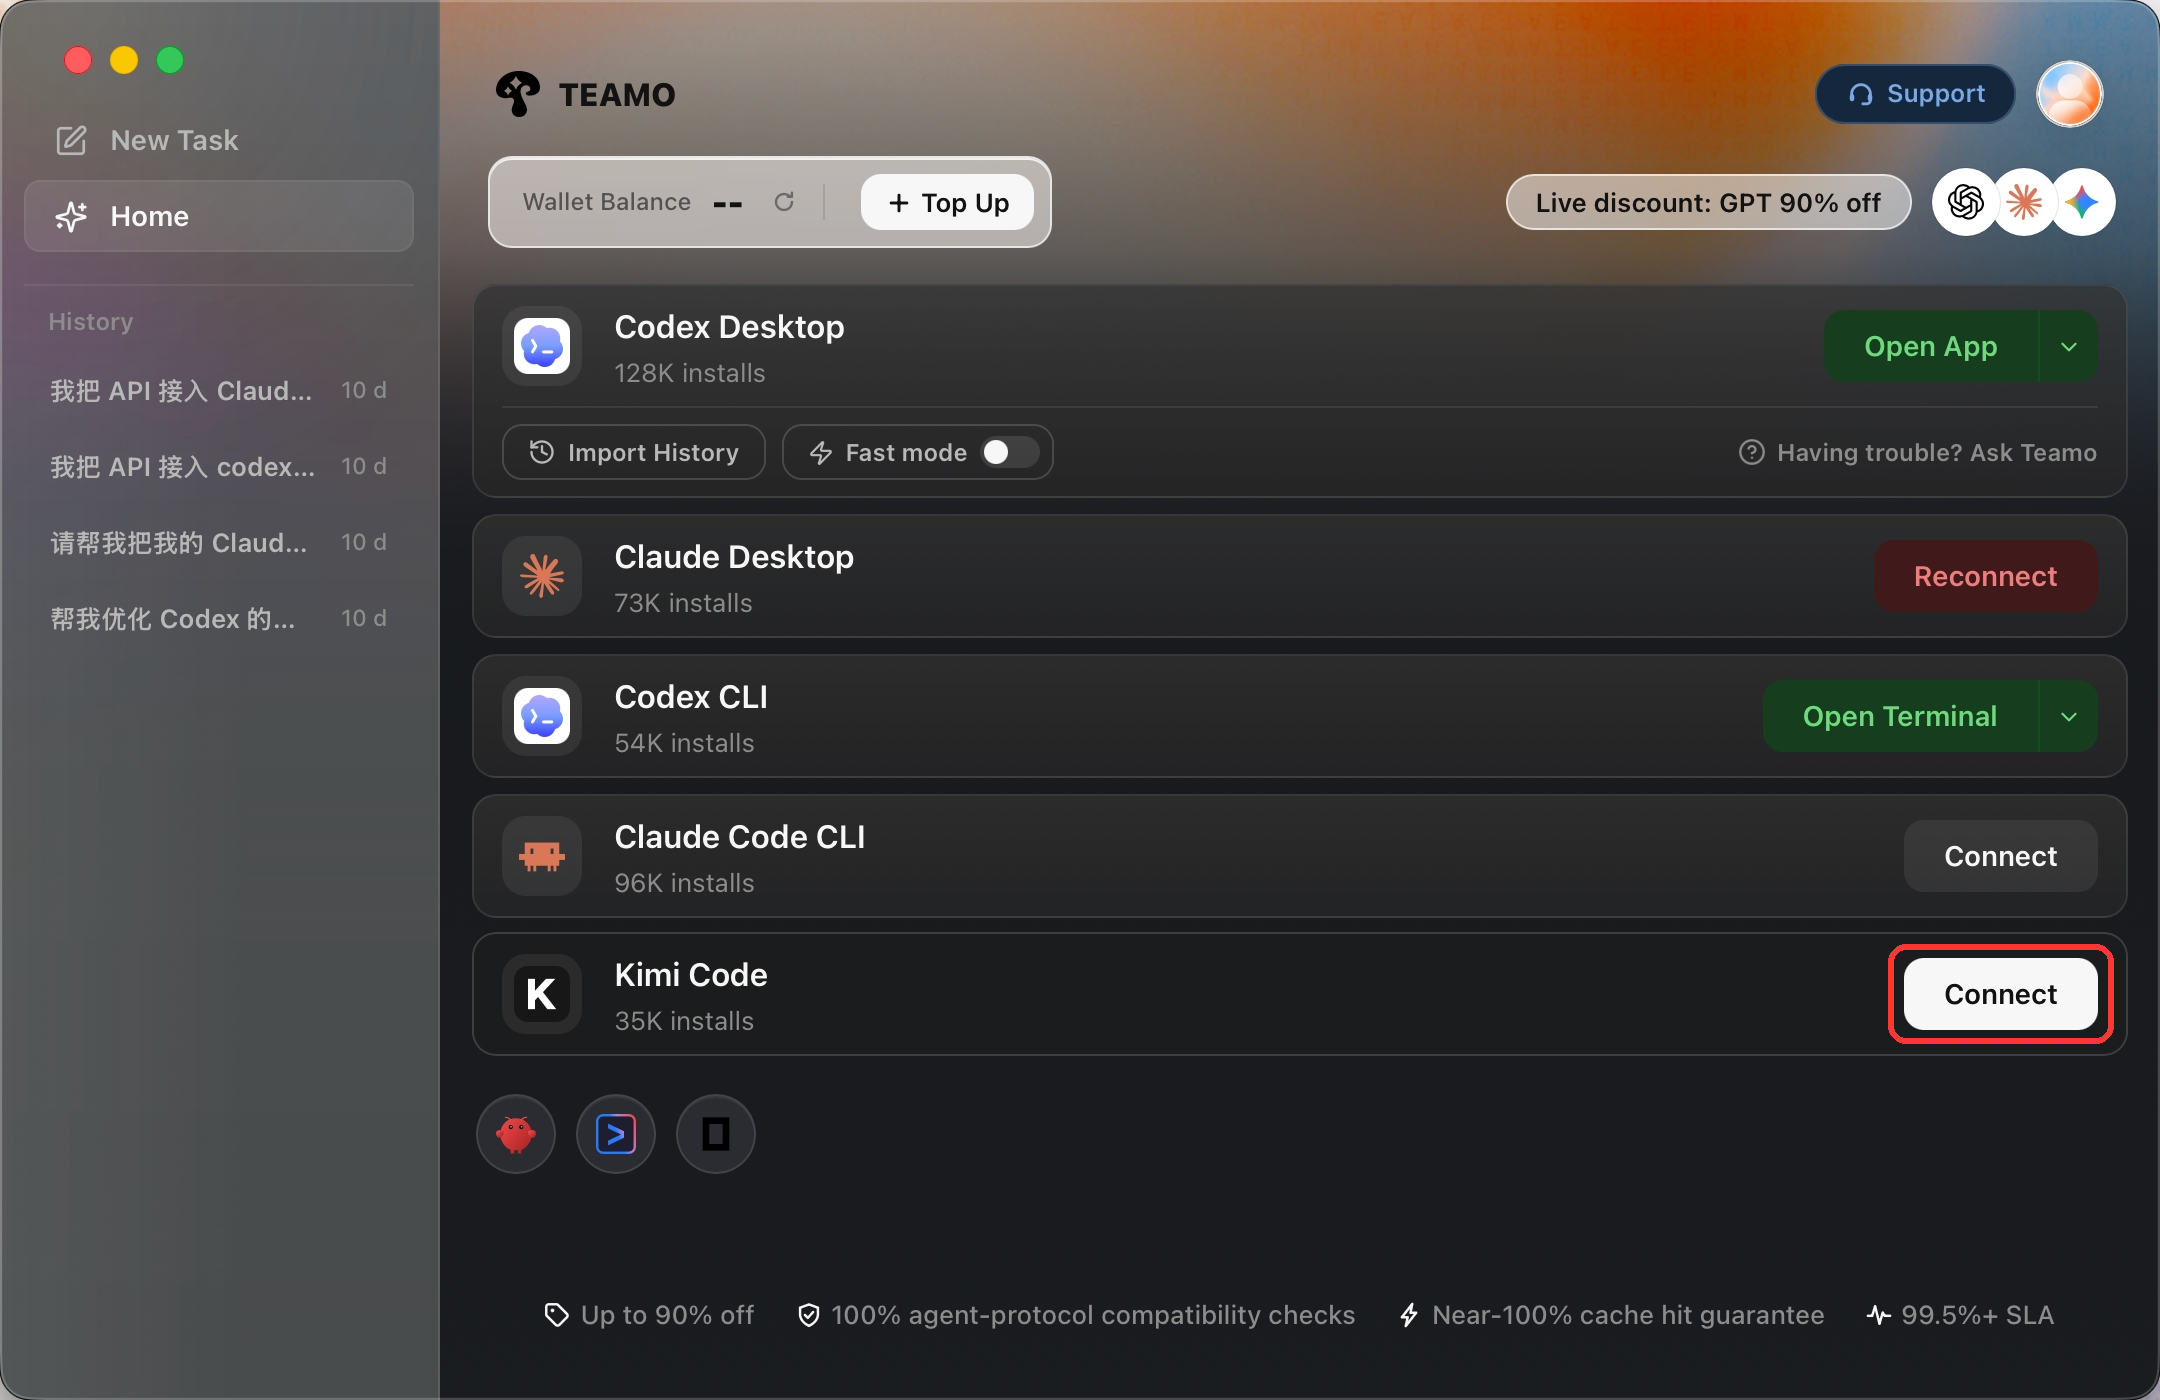
In Teamo Desktop, find Kimi Code and install it.
Then click the one-click setup button. Teamo Desktop will connect your local Kimi Code installation to TeamoRouter and write the required configuration automatically.
To switch back to Kimi's official Coding Plan later, click Disconnect TeamoRouter in Teamo Desktop.
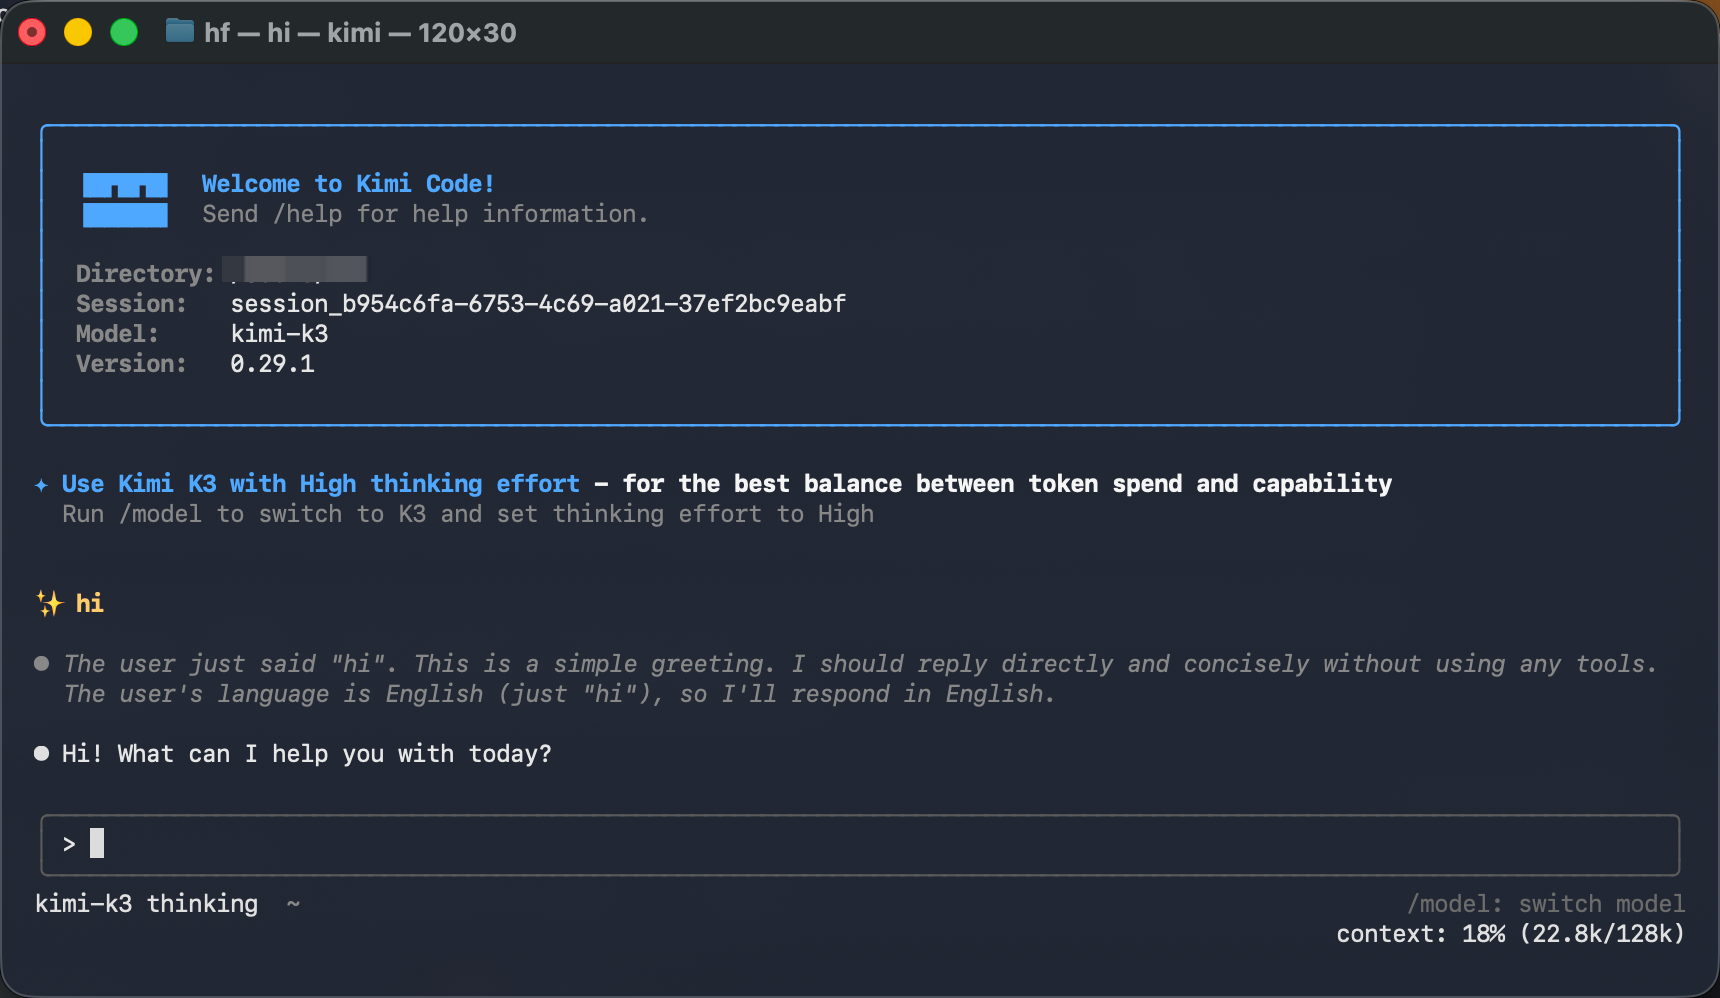
After setup is complete, open Kimi Code and start using it.
You can check per-request usage in the TeamoRouter dashboard.
2. Manual setup
If you do not want to use Teamo Desktop, follow the steps below to install Kimi Code and connect it to TeamoRouter manually.
Step 1: Install Kimi Code CLI
If Kimi Code CLI is already installed, skip to Step 2.
Kimi Code CLI can be installed in two ways: the official install script (recommended, no Node.js required) or a global npm install.
First, open your terminal:
- macOS: open Terminal from Applications.
- Windows 11: press
Win + S, search for Terminal, and open it. - Windows 10: press
Win + S, search for Terminal, then open Command Prompt or PowerShell.
Install script (recommended)
macOS / Linux:
curl -fsSL https://code.kimi.com/kimi-code/install.sh | bash
Windows PowerShell:
irm https://code.kimi.com/kimi-code/install.ps1 | iex
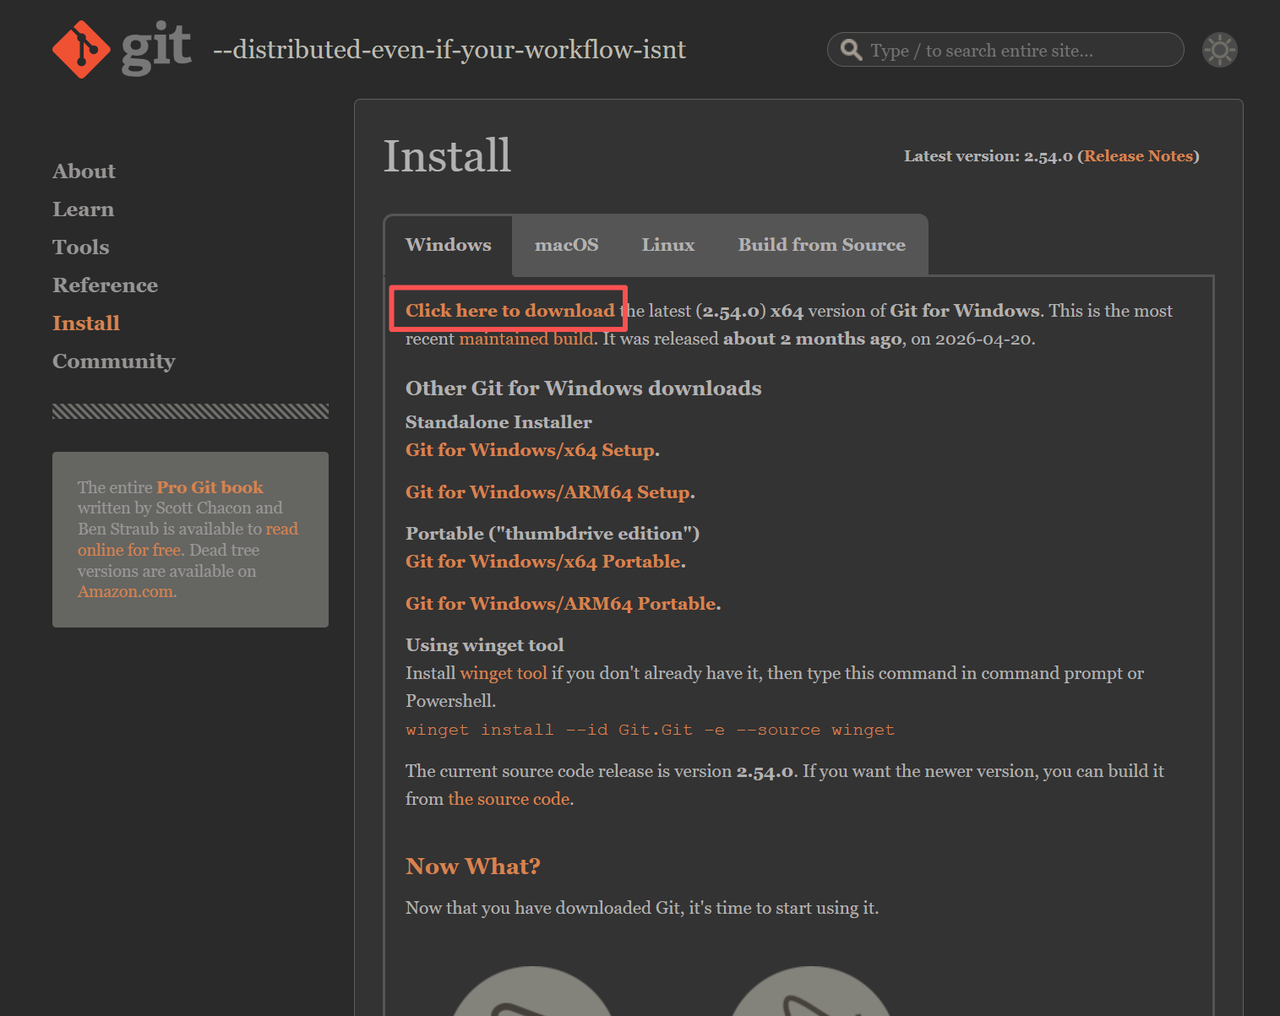
Windows users also need Git for Windows before the first launch.
Download and install it from the Git website. You do not need to open Git separately after installation.
npm install
If you prefer npm, install Node.js 22.19.0 or later first.
Check your Node.js version:
node --version
Install Kimi Code:
npm install -g @moonshot-ai/kimi-code
Or use pnpm:
pnpm add -g @moonshot-ai/kimi-code
Step 2: Connect Kimi Code to TeamoRouter
After Kimi Code CLI is installed, run the commands below. Replace your TeamoRouter API Key with the API key you created in the TeamoRouter dashboard.
macOS / Linux:
SHELL_RC="$HOME/.zshrc"; case "$SHELL" in *bash*) SHELL_RC="$HOME/.bashrc";; esac
cat >> "$SHELL_RC" <<'EOF'
export KIMI_MODEL_NAME=kimi-k3
export KIMI_MODEL_PROVIDER_TYPE=openai
export KIMI_MODEL_API_KEY=your TeamoRouter API Key
export KIMI_MODEL_BASE_URL=https://api.teamorouter.com/v1
export KIMI_MODEL_MAX_CONTEXT_SIZE=1048576
EOF
source "$SHELL_RC"
Windows PowerShell:
$env:KIMI_MODEL_NAME = "kimi-k3"
$env:KIMI_MODEL_PROVIDER_TYPE = "openai"
$env:KIMI_MODEL_API_KEY = "your TeamoRouter API Key"
$env:KIMI_MODEL_BASE_URL = "https://api.teamorouter.com/v1"
$env:KIMI_MODEL_MAX_CONTEXT_SIZE = "1048576"
Step 3: Launch Kimi Code
After configuration, run:
kimi
Kimi Code CLI will start and route requests through TeamoRouter.